RACE RESULT 12 Setup
The following instructions are taken from https://www.raceresult.com/en-in/support/kb?id=8448-Raw-Data-Exporters-Setup, and may be out of date if RACE RESULT updates their documentation.
Exporter Setup
Navigate to the Timing window through the top navigation bar, here is where you will connect to and control your timing systems and exporters. If you are working online and you are exporting to a local destination (e.g. local network IP address, Serial or File) then ensure to start the RACE RESULT Web Server on your computer.
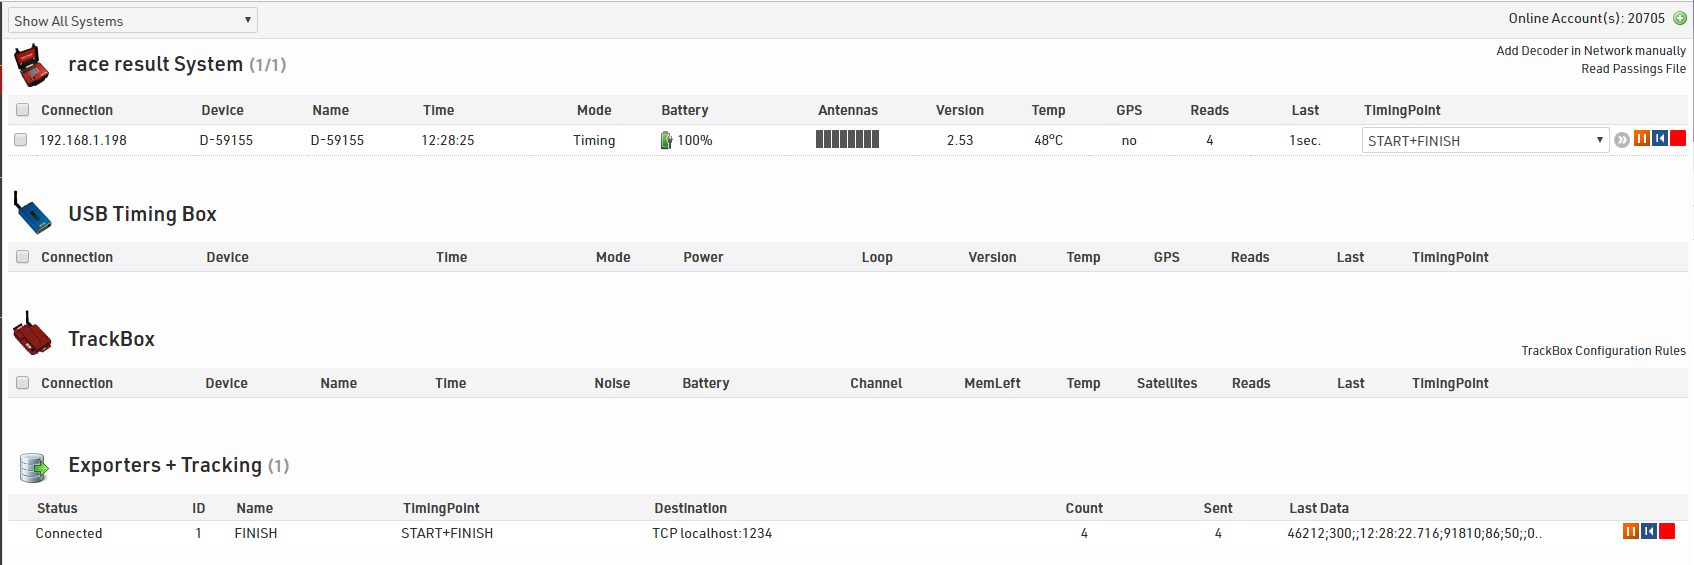
Navigate to Exporters+Tracking through the left navigation pane, here you will setup the different exporters you require and how they will function. The settings available are:
Name: A name for the exporter
Timing Point: Which Timing Point will trigger the export of data / will be sent
Filter: A filter to be applied, for example only a specific bib range.
Export Data: The format of text which will be sent, there are some pre-defined formats or you can write a custom set of data. For RaceDay Scoring, select Raw Data Record V1 or V2.
Destination: The Export Type (TCPIP / SERIAL / FILE / SQL) & additional fields required depending on the format. For File Streams, select File.
LE: The Line ending expected by your software to read the data. For RaceDay Scoring, select CRLF.

If you wish to write a custom output data format there are a number of custom fields which should be used, you can view these in the sub-menu below, you can also use any of the standard RACE RESULT fields if you have these setup in the event file.
If using FILE export then the file name should be the full destination address and file type for example: C:\Users\Timer\Documents\Export.csv
Connecting to Devices and Starting Exporters.
Your exporters are listed on the Timing Module Systems menu in the same way as your systems and can be started in the same way, the Status will show Connected if successful.
You can re-send all the data to an exporter via the blue rewind arrow, and clicking the red stop icon will close the connection.
RaceDay Scoring Setup
Go to the Streams page from the Sidebar, then click Add Stream.


Then type in a Stream Name. This should be something you may reuse in the future.
Next select File for the Stream Type

Next select the File Type. This is to let RaceDay Scoring know what type of chip system file to expect. For RACE RESULT, you should select "RACE RESULT File" which is the default file type for their middleware.

Next use the Browse button to select the folder that your RACE RESULT exporter is pointing to.

You can assign this new stream to an existing location here.
You may want to set all read dates to the day of the Race, since the RACE RESULT File Export format may not include date in the passing data. If you do not set this to the race date, we will assume the read dates are whatever day they were collected, which can cause problems if you ever need to replay data after the day of the race.

Finally, you need to set the Source Name in the Advanced Settings area. This will tell the system to only bring in reads that came from this source in RACE RESULT into this Stream. You would typically set up a Stream for each reader you have in your RACE RESULT setup, with the reader identifier being the Source Name as such:

Then you can click Save and you will be able to start collecting reads for this Stream as explained here: http://help.rdscoring.com/support/solutions/articles/17000079937-begin-collecting-reads-on-all-streams